Saturday, 29 June 2013

Using vellum in layouts


 Today we made this double page spread in class using vellum to add texture and colour. Below are the instructions on how to create the layout.
Take the pale blue 12x12 and mark half of the page into 1 inch squares. Do this very lightly so that the lines are very pale.

 Cut 5 circles and 2 half circles from pink card, do the same for the green card. Cut 5 half circles and 2 quarter circles from purple card. Also cut 18 circles from the patterned vellum. (The circles are 2 inches across)
Place a vellum circle on the embossing grid and emboss a row of dots around half of the circle.
This is what the circle will look like when it is finished. Decorate all of the circles in this way.
Lay a strip of double-sided tape across the second row of boxes. Stick on 6 vellum circles using the grid as a guide. The dots should be showing at the top of the circle.
Put a strip of double-sided tape across the next row of boxes. Add the pink circles, starting and ending with a half circle.
Add another row of vellum circles and the green circles in the same way.
Add the final row of vellum circles and finally the purple half and quarter circles. You will need to put the double-sided tape on the back of the purple card rather than the page this time.
Cut 2   1 inch strips of card in pink, purple and purple. If you have the kit from Stoke Gallery, these have been cut for you.
Use magic tape on the back to stick the strips to the 6x12 inch piece of pale blue, this will create another 12x12 page.
Mark half an inch in from the edge of a pink piece of card and make a pencil line. Use a 1 inch punch to cut 12 half circles. Repeat for the green and purple card.
Glue the half circles along the top of the lowest 3 strips so that they look like they are scalloped.
This is what it will look like when it is done.
Punch 8 half circles in vellum and decorate as before.
Add the vellum half circles along the top of the strips with small pieces of double-sided tape.
Use a ruler to tear 3 strips, 1 inch wide, from the patterned vellum.
Stick a strip of vellum onto the layout, the bottom edge of the vellum should be 2 inches down from the top.
Journal with a white pen on a 1 inch strip of purple parchment. Journal near the bottom edge of the strip as the top edge will be covered up.
Stick the journalled strip on top of the first strip of vellum.
Add the last 2 strips of patterned vellum.
Add photos to finish!

Tuesday, 28 May 2013

Scrapbooking - Grey and Pink theme

 Here are the instructions to re-create the pages that we made in class on Saturday. I cut the 12x12 from Canford Paper so there were enough offcuts left over to make this into a double page spread.

Cut a 3 1/2 inch strip from the spotty 12x12. Cut this up into three pieces, a 2 /12 inch piece, a 3 inch piece and a 5 /12 inch piece. The bit that falls off the end isn't needed.
Stick the pieces onto the top of the 12x12 grey/brown page with a 1/2 inch gap between them. Because the decorative paper is double-sided you can flip the paper over to have different patterns showing. If you want to decorate the large rectangle (I used iris folding to decorate mine) I would suggest decorating it before you stick it to the page.
Cut another 3 1/2 inch strip from the spotty 12x12 and cut this into three pieces. Cut a 3 inch piece, a 2 1/2 inch piece and another 3 inch piece. The bit that falls off the end isn't needed.
Stick these pieces to the bottom edge of the 12x12 as shown, again leaving a 1/2 inch gap between the pieces on the left.
Stick the 6x4 piece of pink cardstock to the 12x12 as shown.
Cut a 4 inch strip from the spotty paper and cut this evenly into 3 inch pieces.
Stick one piece on the right hand side of the 12x12, in line with the plain pink card.The other 3 pieces will now be used to make the 2nd 12x12 page.
Stick together the 3 pieces of patterned card along with the piece of plain card that you have (which measures 3x4 inches) to make a border. Stick the border to the piece of grey/brown paper (which measures 12x8 inches) to make a new 12x12 page.
Place double-sided tape along the join and cover with silver-grey ribbon.
Cut a 3 inch circle from the pale pink card and a 3 1/2 inch circle from the darker pink card. Stick the circles together and then stick them onto the grey/brown paper. Cut out the circle shape again, leaving a small border showing around the pink circles.
Finish the main page by adding your decorated rectangle, the main photo which I cropped to 5 3/4 x 3 3/4 inches, a mini photo which I cropped to 2 x 3 1/2 inches and the circles. I stuck the circles on with sticky fixers and journalled in the space left with a white pen.
To finish the second page I cut around an extra photo and tucked the bottom edge just under the lip of the ribbon. I also added a large title which I made from leftovers of the patterned and plain card. Alternatively you could add a smaller title or maybe just the date and you would have room for more photos.

Tuesday, 7 May 2013

New Arrival - The Ebosser

The Ebosser has arrived at the Gallery and I've been able to have a play this week which has been really fun. It's just like the Cuttlebug in that it's easy to use but you can put A4 cardstock through which is a big bonus, especially for scrapbookers. The Ebosser plugs in to the mains and has a motor so there's no handle cranking to do and it has a safety feature which means it won't work if you put your hands inside. Another feature that I love is that if your 'sandwich' is too thick, the machine won't accept it so you know that something isn't quite right. One last thing, the booklet that comes with it is amazingly clear and useful, I think I will be separating the pages of ours and having them laminated.
I made this card with one of the A4 embossing folders which is really quick and easy to use, it really does make a card in one step. I folded the pearlised card along the lines when it came out of the machine and gave it a small trim at the top and bottom. Then I added punched flowers and butterflies to the design to highlight the embossing. The butterflies were punched out twice, I have 2 butterflies stacked together in each position with foam pads between the wings to give them lift.
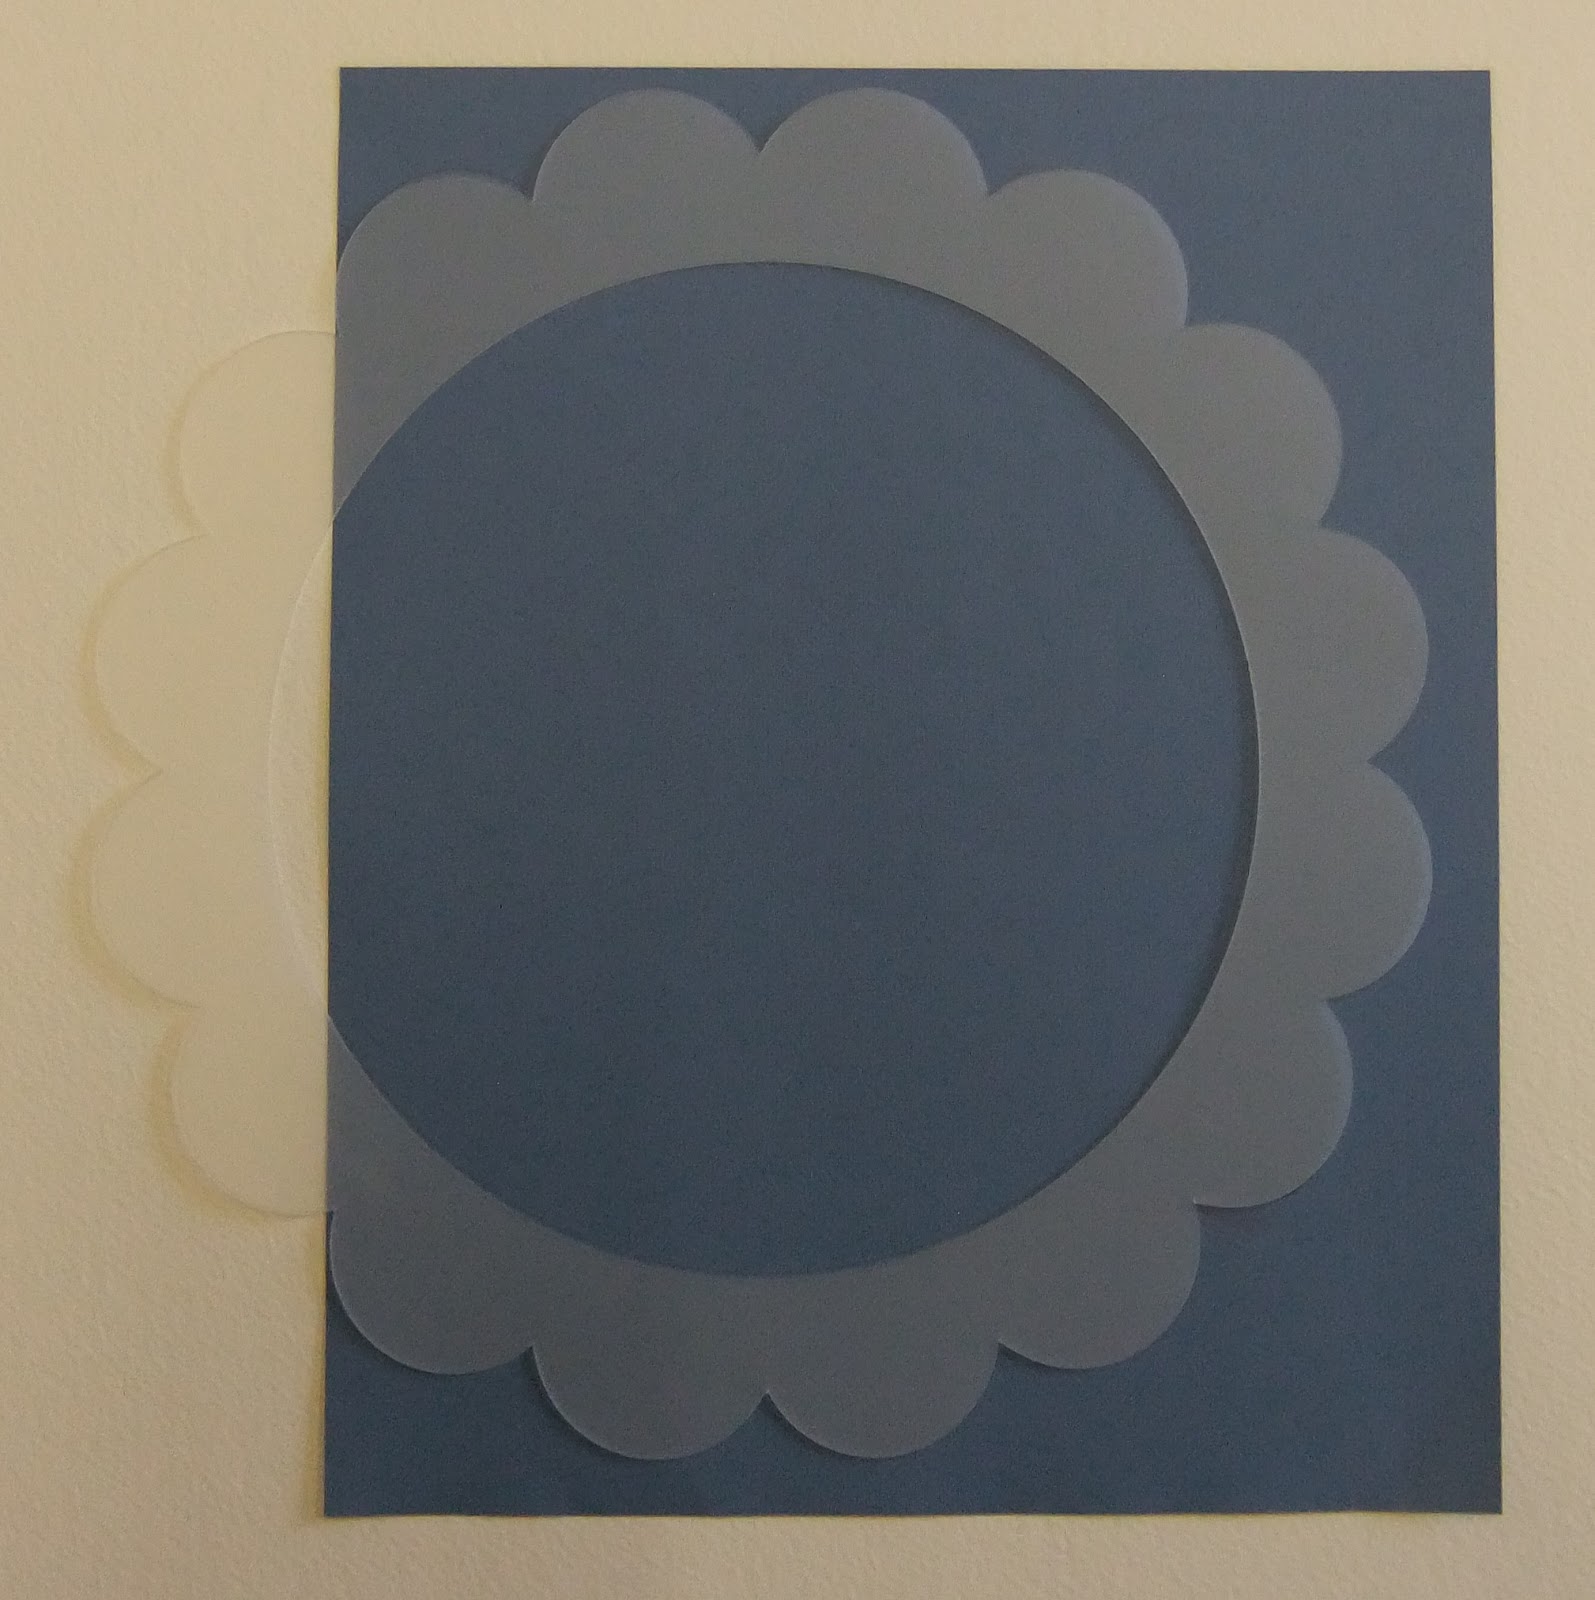
In the middle of the card I made a slit at each side to poke the ribbon through, this ties the card shut. To cover the ribbon I embossed a scalloped design from Darice on baby blue and cut it out around the scalloped edge. Then I embossed another of the same design on white but cut further in this time so that they layer together nicely. The inside is finished off with some tiny daisies from a plier punch.
This card I made with the Cuttlebug and I embossed some Colorcore card with the stars background, which I then sanded to reveal the lighter colour inside. The decoupage design is from some Emma Ball giftwrap which has just arrived at the shop. As soon as I saw it I knew it was perfect for the bright and jolly card I had in mind!

Saturday, 13 April 2013

Scrapbooking - 'Pick a colour'

Today we tried out lots of different techniques in class. A tutorial for the page can be found below. Many thanks to Rosemary for allowing me to take photos of her work for the step-by-steps!
Measure out the 12x12 into the sections on the chart. If you have the Stoke Gallery kit this has been done for you. Cut along the lines to separate the page into 9 pieces.

 Emboss the top left piece of card (in class we used the cuttlebug) and sand back the surface to reveal the inner colour of the Colorcore card.
Repeat with the piece of card from the top right corner. We used a different stencil to give a different look.
The piece from the bottom left corner needs to be stamped, you can use a similar colour to give a soft look, or something with more of a contrast if you want your stamping to be more visible.
The 3 inch square of card from the top row should be inked around the edge and use a fine felt tip to 'stitch' around the edge.
The rectangle from the top row has layers of plain card matted and layered to give a framed effect. You can use 3 or 4 layers, they measure 3 1/2 x 2 1/2 inches, 3 x 2 inches, 2 1/2 x 1 1/2 inches and 2 x 1 inch.
The large centre square is stencilled with oil pastel and a stencil brush. Lay the stencil on the square, you may want to hold it in place with low tack tape. Rub some of the oil pastel onto a plate and swirl the stencil brush round and round in the paint to pick it up on the brush. Stencil the paint over the stencil in a circular motion and you will see the colour transferring to the card. The more you work, the darker the colour will be. Remove the stencil when you have finished.
The piece of card below the stencilled square is going to be painted. If you have the kit and you don't have acrylic paint at home, you can call in and borrow some from the gallery classroom.
Choose 3 colours, or choose 2 and mix them together to create a third, and paint them onto the card in dabs or stripes. I didn't bother to clean my brush between colours so I had more variation in my painted dabs.
Punch or cut shapes from patterned paper and stick them to the piece of card from the bottom right hand corner.
The small piece of card that is left is to be stitched on. Rosemary and I both stitched a lattice design but some of the students made a small cross stitch in each corner which looked just as effective.
 Stick the pieces back together using magic tape on the back side of the card. Leave the 2 pieces on the left unstuck for now so that you can punch a row of holes down each side of the gap with a cropadile or small hole punch.
We measured 1/2 an inch in and made marks every inch down the line to mark the position of the holes.
Now you can stick the final pieces together with magic tape and lace through the holes with 75cm of ribbon.
Stick on your photo and you're done!
Again, many thanks to Rosemary for the loan of her page!

Saturday, 2 March 2013

Messy Play Scrapbook Tutorial

Here's the next tutorial for those of you that couldn't make it to class today, you have everything provided in your kit to complete this layout. Any questions, don't hesitate to contact me at the Gallery for help.
Take the piece of dark brown card and cut lengthwise to create a 2 inch strip and a 3 inch strip.
Stick the 3 inch strip to the top of the striped 12x12 and stick the 2 inch strip about half an inch up from the bottom of the page.
Use the scalloped circle template to draw a scalloped circle (less 4 scallops) onto the blue paper. If you have the kit this has been done for you. Cut out along the scalloped line.

On the piece of rubber, draw out the pattern that you would like to turn into a stamp to decorate the centre circle. Use a knife to cut away the areas that are not required, trying to cut the areas in a v-shape. Straight line designs are easiest to cut and remember that the design will look much better when it is finished - persevere!
Stamp the cream card with your stamp in a checkerboard pattern. If you find this hard to do by eye you can use a ruler and pencil to divide the card up into 1 inch squares. I used dark brown ink.
Now stamp the image again, between the brown designs, this time I used blue ink.
Cut your design into a circle, if you have the kit, this has been marked for you.
Cut out a larger circle from tan card and layer the 2 circles together. If you have the kit, this circle has been marked for you.
Stick the 2 circles to the blue scalloped circle, one edge will overhang at the moment.
Stick the circle arrangement to the 12x12 and cut off the excess that hangs over the edge.
Use the brown paint and the pointed end of the stick provided to dab tiny dots of paint around the scalloped edge of the blue paper.
Use the blunt end of the stick to add large dabs of paint around the stamped circle. If you find that your dots are a bit patchy, use a little more paint.
When the brown dots are dry, add a dot of white paint between the brown dots, I used a large embossing tool to create this medium-sized dot.

Top tip: Every so often, wipe the end of the embossing tool with a piece of kitchen roll as the paint will start to dry on the tip and create uneven dots.

Draw a title onto the dark brown pieces of card and use an embossing tool to dot over your pencil lines with white paint. Keep your dots as close together as possible without them touching. If the dots are too far apart, the letters will not be clear.
Use the biscuit-coloured card to create a border around your photos, mount on the page and you're finished1 I have used one 4x6 photo but a couple of smaller ones would work well too. Having the photo overlapping the dotted circle into the scallops adds interest to the page.